

If you want to change the look of your garage, basement or patio at affordable budget, then here is how to Paint Concrete Floors. Also, painting these floors is not that hard and you can easily do it even if you are not a pro. You just have to consider few basic things like deciding what kind of paint you want to use and also the kind of finish you are trying to achieve. To make things easier for you, we have decided to talk on this and cover all the minute details, so that you can use this knowledge to paint your concrete floors at minimal effort.
Decide whether to paint or stain
In order to upgrade the look of a space, both paint and stain are great options, so how to decide whether painting will be good for you or staining? Well, you will have to decide that at the very beginning depending on the kind of finished look you want to have. Acid based stains are usually more long lasting as they penetrate the concrete surface but since concrete is porous, without a solid top layer, there may be some unevenness or streaking. On the other hand, painting helps you get that rich finish but they are not that durable in comparison to stains.

So, if you want a dramatic finish and are ok with occasional touch ups, then painting the concrete floors will be the better choice for you.
Choose the paint type
Once you have decided to paint your concrete floors, it is time to choose from the below-mentioned types.
- Acrylic latex- It is water based and is comparatively simple to work with. It is similar to all acrylic paints.
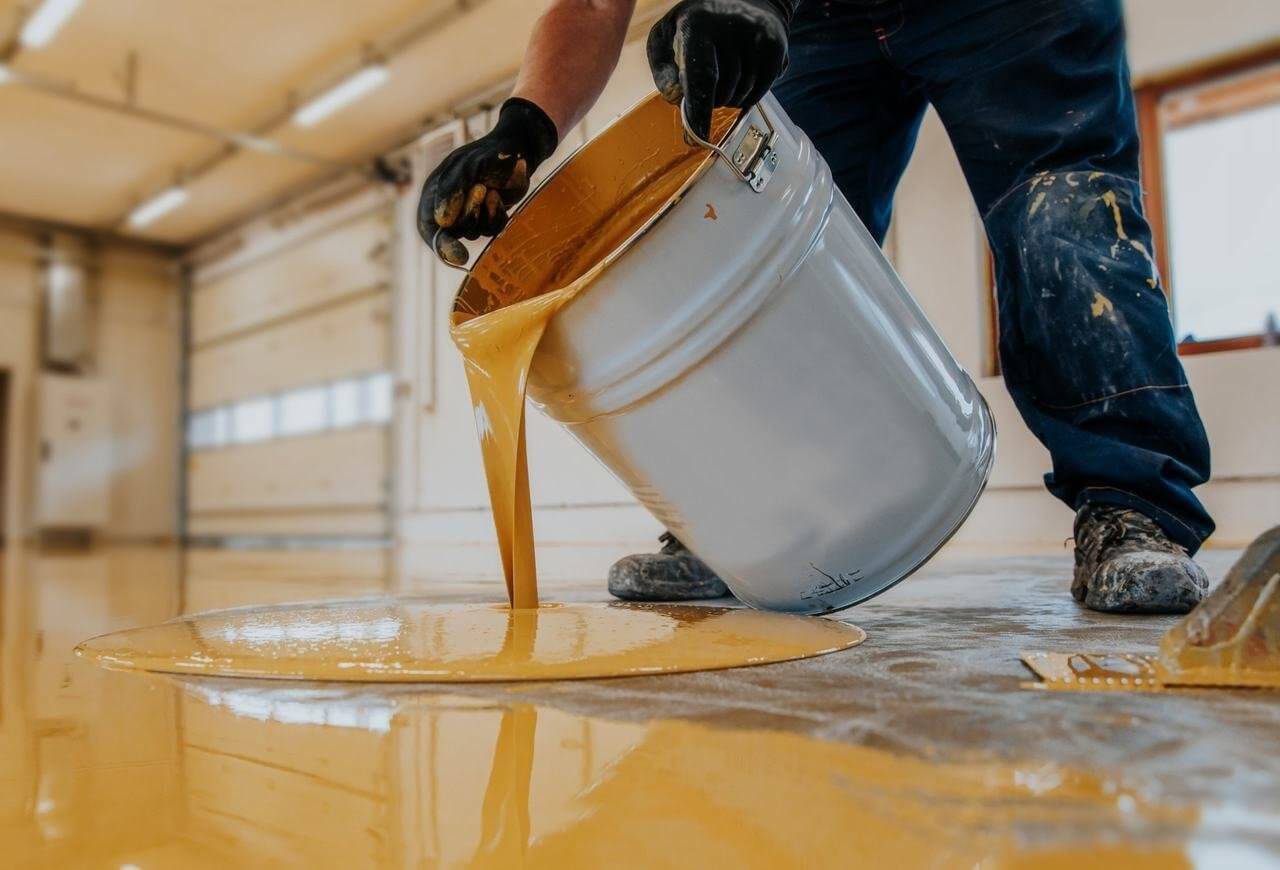
- Epoxy- The more popular and durable one is the epoxy concrete paint. However, you may find it slightly tricky to use it to get that proper expensive finished look.
Most people want epoxy as it looks more sophisticated and is also long-lasting but if you are not too confident working with epoxy, then go for acrylic especially if your concrete floors do not get exposed to outside elements that much.
Steps to paint the concrete floors
Arrange the ingredients required to paint the floors
Here’s what you will need:
- Concrete paint
- Masonry primer
- Concrete degreaser
- Masonry sealant
- Painter’s tape
- Plastic wrap
- Dustpan
- Broom
- Bucket
- Mop
- Dry/wet vacuum
- Hand sander
- Sandpaper (80 or 100 grit)
- Paint roller
- Roller tray
- Extra roller brushes
- Goggles
- Gloves
- Mask

1. Moisture test first
Moisture may lead to mold, algae and mildew growth beside lifting the paint off, so you need to do the moisture test. For that, tape the plastic wrap with a painter’s tape. Wait for a day and then check for moisture droplets. If you notice moisture, then seal the surface before painting.
2. Wash the floor
It is very important to thoroughly clean the floors before painting. For that, mop the space with a good concrete degreaser. After that, wait for few days for the space to dry including the lowers layers of the concrete. To speed up the process, make sure there is proper air circulation in the space.
3. Sand and then vacuum
Preparing the space before painting is necessary and that includes sanding. Then will help remove any kind of unevenness. Use a hand sander for this. Once sanding is done, remove all the residue using a dry/wet vacuum.
4. Do the repairs
To increase durability and get that professional look, it is better to do the repairs if any. Depending on the extent of damage, choose whether to use masonry crack filler, caulk or more potent patch compound. Follow the instructions to cure before you prime and paint.

5. Time to prime
Priming is vital before you paint the floors and using a good masonry primer specifically meant for concrete floors is highly recommended. Use a roller to apply the primer. For maximum coverage, go for two coats. Let the primer completely dry before you move to the next step.
6. Mix epoxy
If you are using acrylic paints, then ignore this step but if you are going for epoxy, then you need to mix it before using it. It includes mixing the paint with hardener in small batches for best results.
You will usually need paint stirrers and elbow grease to mix but do follow the instructions carefully to avoid mishaps.
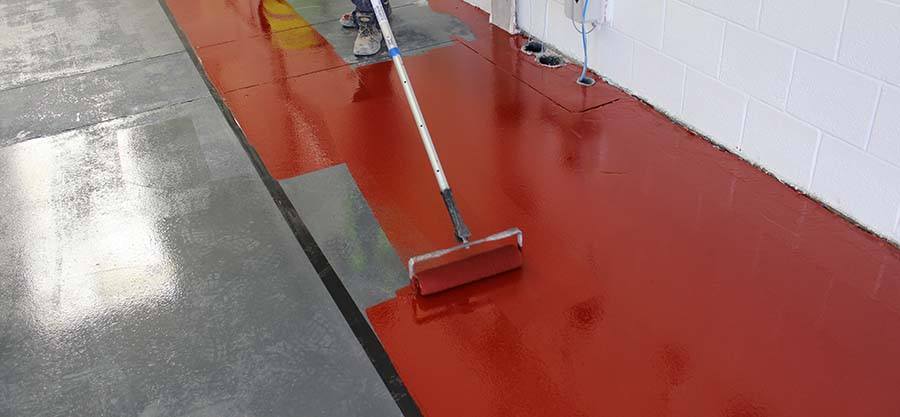
7. Time to apply the paint
Now you need to roll the paint. Just like in case of the primer, going for two coats is recommended. If you are not satisfied with the results, then you can always go for an additional coat. However, make sure you wait in between for the paint to dry properly. Always start painting from one edge in order to avoid painting yourself in one corner accidentally.
8. Apply masonry sealer at the end
Once you are done with the painting, seal it with the help of a masonry sealant. You will have to apply several coats and wait in between for each coat to dry properly. As far as curing time is concerned, follow the instructions given.
A word of caution
Safety is always important and in order to avoid exposing yourself to dangerous fumes, it is vital that you wear gloves, goggles and a face mask throughout the entire process. Also, there should be proper ventilation for your safety.
Conclusion
As you can see, the process of painting the concrete floors is not overtly tough. You just have to follow the above-mentioned steps carefully and you are all done. You may require a week or two depending on the size of space to complete the whole project but if you are able to get it done properly, it will definitely be worth it.
You will hopefully not have to do touch ups for quite a while but it is always better to inspect the space after a certain time and spot treat areas if needed to avoid redoing the entire space later on.