

Mopping is probably the easiest method to keep the floors clean. But, according to experts, there is a right way to mop the floors and that doing it the wrong way, may lead to damage on your flooring.
Simple things like preparing your floors before mopping, choosing the right ingredients depending on the type of flooring you have, using the right mop to deal with the stains etc. all form a part of how to mop a floor the right way.
Today, we will provide you will all of this information as well as other much needed instructions, so that every time you mop, you can get the best cleaning results without causing any harm to your floors. Let’s begin the discussion.
How to mop a floor- Important steps to consider
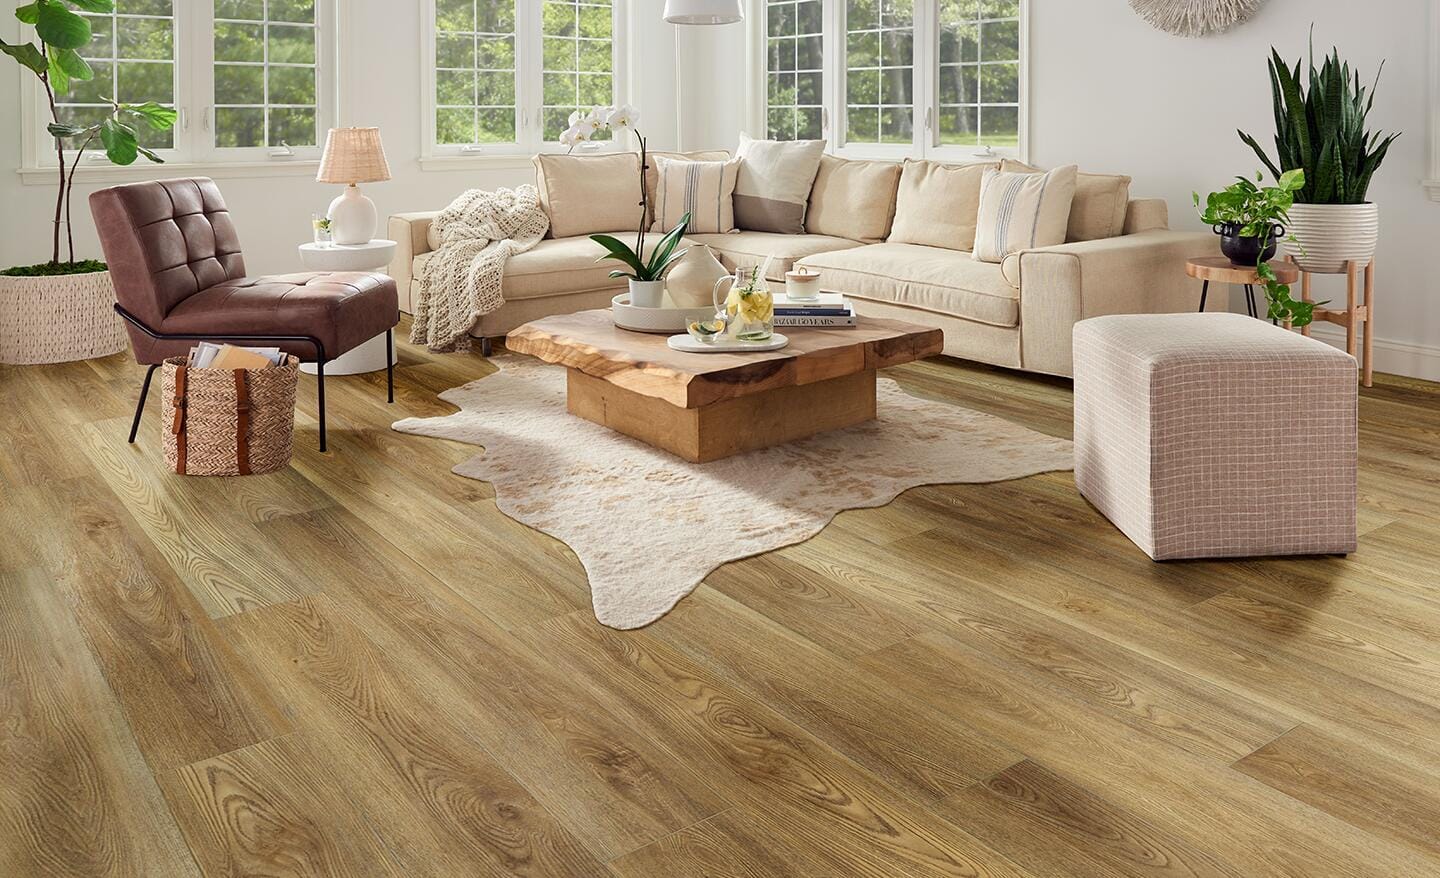
1. Know the type of floor you are dealing with
Identifying the type of floor you are dealing with, is crucial in determining the kind of mop or the type of cleaning solution you need to use. So, before mopping determine your floor type and the kind of finish it has. If you are not able to get that done on your own, take the help of the professionals.

2. Choose the right mop
Once you have identified the type of flooring you have, it is time to choose the right mop. For ceramic floors, go for a strip mop as this will help prevent the dirt going from the tiles to the grout. On the other hand, for hardwood and other smooth ones, a sponge mop will be great.
3. Pick the right cleaning product
A single cleaning product cannot be good for all floors so choose a good quality cleaning product that is meant specifically for the kind of floors you have. For wooden surfaces, a delicate and pH balanced cleaner will be good, preferably something that will not create a sticky mess afterwards. Avoid the detergents containing, vinegar, ammonia and oils in this case. For DIY, olive oil, lemon juice and hot water combination will be good.
If you are dealing with vinyl, ceramic or any non-porous floors, you can use borax and water solution. Castine soap mixed with your favorite essential oil and hot water will also be very effective. For stone floors, avoid lemon and cleaners containing vinegar.
Always check the label before buying any commercial cleaner to mop your floors.
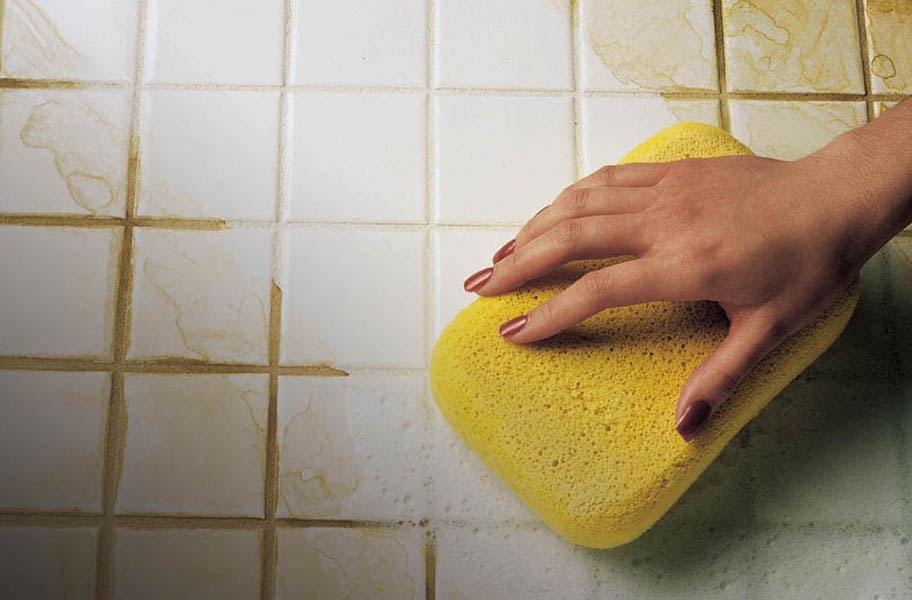
4. Sweep or vacuum your floor
Before you start mopping, it is vital to get rid of the excess dirt from the floors by vacuuming or sweeping them. Besides, if you notice any food or other stubborn stains, remove them using a soft sponge before mopping.

Whether to sweep or to vacuum is your decision. If you mostly have loose dust and hairs on the floors, vacuum is great but if you are dealing with big pieces of dirt or something which your vacuum cleaner cannot handle, then sweeping will be your best option.
When choosing a vacuum cleaner, go for one having strong suctioning power but soft bristles (to avoid scratches on the floors).
5. Mix the solution
When you are mixing the cleaning product with warm water, always read the labels to know in what ratio you need to mix the two. Too little water may make the solution ineffective while too much may lead to a sticky residue behind, so try to get the consistency of the solution right.

6. Wring the mop before using
When you are dipping your mop to clean your floors, it is vital that you get rid of the excess water and then use it. This is because excess water will damage your floors especially if you are dealing with hardwood ones. Wooden floors when exposed to excess water may result to water stains, blackened spots or completely damaged wood.
7. Use the right motion to mop
Not all mops require the same moving techniques. For example, string mops need a swishing movement as that will help prevent the particles from getting lifted. On the other hand, foam mops require you to apply light pressure in one single direction which will lift the dirt up which is the main objective in this case.
8. Start from one corner and move backward after every stroke
You need to avoid stepping over the wet floors. For that, it is best to start from one corner and work your way outward. It is also advisable that you move backward after even step. This will give the floors time to get dry. You may also consider mopping in straight lines as there is less chance of missing spots with this technique.

/mopping-basics-lead-getty-0823-003d647238e04ee4ad55421cfd5c23a9.jpg)
9. Rinse the mop in between
You will obviously want to avoid pushing the dirty water all over the space and for that rinse the mop after you have finished mopping a certain section of the floor. After that, dip it again in the cleaning solution and continue mopping. To make things easier for you, keep another bucket full of plain water beside the one having the cleaning solution.
10. Allow the floor to dry
Once you are satisfied with the cleaning, rinse the floor once more and let it air dry. You should avoid entering the room for at least 15 minutes. If you want them to dry faster, use a floor squeegee.
11. Clean the mop and bucket
The bucket and the mop will contain a lot of dirt and germs after you have used them to mop the floors, so it is very important that you clean them right after you have finished cleaning the floors.
Wear gloves while cleaning so that the bacteria does not get transferred into your hands. At first rinse both the bucket and the mop with warm water. Then use a bleach-water mixture or a vinegar-water combination to clean thoroughly. For the bucket, you may scrub it with a sponge before rinsing with plain water.
Conclusion
Mopping the floors, the right way is necessary so follow the above-mentioned instructions while mopping your floors.